Creating your own yogurt at home may sound like a gourmet challenge, but when you’ve got an Instant Pot in your arsenal, it’s surprisingly doable. As someone who has devoted more than a few hours to the pursuit of homemade dairy delights, I can attest to this modern kitchen wonder’s prowess.
Thanks to its precision temperature control and steady heat distribution, the Instant Pot takes most of the guesswork out of crafting that perfect batch of homemade yogurt.
Finding the ideal level of warmth – think cozy 110 to 115 degrees Fahrenheit during incubation – is crucial for those live cultures that transform simple milk into rich, tangy goodness.
Stick around as I take you through unlocking creamy success with your trusty pressure cooker’s yogurt function. It’s not just a step-by-step guide; it’s uncovering a little slice of kitchen magic.
Key Takeaways
- The Instant Pot yogurt setting keeps milk warm between 110 and 115 degrees Fahrenheit to make yogurt.
- You can choose “Less” for lower temperatures or “More” to pasteurize the milk before making yogurt.
- For thicker yogurt, strain it after incubating or add powdered milk during preparation.
Understanding the Instant Pot Yogurt Setting
The Instant Pot yogurt setting is designed to maintain a consistent temperature for the fermentation process, ensuring that your homemade yogurt turns out just right. Maintaining the proper temperature is crucial for the yogurt-making process to be successful.
How the yogurt setting works
I press the yogurt button on my Instant Pot and it knows what to do. It keeps the milk warm, right between 110 and 115 degrees Fahrenheit. This is important for turning the milk into yogurt.
The “Normal” setting is perfect for this.
My pot can also use a lower temperature if I choose “Less.” This stays around 86 to 93.2 degrees Fahrenheit, which is not too hot or too cold for some special yogurt recipes. If I need to pasteurize my milk first, I set it to “More,” so it heats up between 160 and 180 degrees Fahrenheit.
After heating the milk, I make sure it cools down enough before adding any culture. Once it hits just below 115 degrees Fahrenheit, that’s when I mix in the starter culture.
Next comes keeping everything steady while the yogurt cultures grow. My Instant Pot acts like a cozy home for them at a snug 110 degrees Fahrenheit all through fermentation time.
Now let’s talk about how clean your pot needs to be before you start making your tasty homemade yogurt!
Maintaining a consistent temperature
The Instant Pot yogurt setting ensures a consistent temperature between 110 and 115 degrees Fahrenheit throughout the incubation process, promoting the growth of beneficial bacteria.
The range of settings – “Less,” “Normal,” and “More” on the Instant Pot offers control over temperature variations, with different ranges catering to specific stages in yogurt making.
Maintaining precise temperatures is crucial as it directly affects the quality and texture of the homemade yogurt. Monitoring and adjusting temperatures according to each stage is essential for successful yogurt making in an Instant Pot.
Importance of proper temperature
Maintaining the right temperature during yogurt making is crucial for successful fermentation. The Instant Pot’s consistent temperature control, set between 110 and 115 degrees Fahrenheit, ensures that the beneficial cultures in the yogurt starter can thrive and multiply.
This optimal environment allows for the transformation of milk into creamy, tangy yogurt without any guesswork or fluctuation in temperature.
Step-by-Step Instructions for Making Yogurt in the Instant Pot
Once the Instant Pot is clean, I preheat the milk to 180°F and then let it cool to 110°F before adding the yogurt starter. After that, I simply set the Instant Pot to the yogurt setting and let it incubate for 8-12 hours.
Cleaning the Instant Pot
To clean the Instant Pot, unplug it and let it cool. Wash the inner pot, sealing ring, and lid in warm soapy water. Rinse and dry all components thoroughly. Wipe down the outer surface of the Instant Pot with a damp cloth. Do not immerse the base in water or put it in the dishwasher. Store all parts in a dry and ventilated place when not in use. Remember to clean your Instant Pot after each use for safe and hygienic cooking practices.
Heating and cooling the milk
After cleaning the Instant Pot, the next step is heating and cooling the milk to prepare it for the yogurt-making process. Here’s a step-by-step guide:
- Heat the milk in the Instant Pot until it reaches a temperature between 180 to 200 degrees Fahrenheit.
- Use a thermometer to check the milk temperature accurately.
- Once heated, remove the inner pot from the Instant Pot and cool the milk by placing it in a water bath or letting it sit at room temperature.
- Stir occasionally while cooling to ensure an even temperature throughout the milk.
- The ideal temperature for adding yogurt culture is between 112 to 115 degrees Fahrenheit.
- It’s important to wait until the milk has cooled down sufficiently before proceeding with adding the yogurt starter.
Adding yogurt starter
When adding the yogurt starter, ensure that the milk has cooled to 112-115 degrees Fahrenheit.
- Gently whisk in the yogurt starter until it is fully incorporated into the milk.
- Be mindful of using a good quality yogurt with live active cultures as your starter.
- Ensure that the Instant Pot’s inner pot is clean before returning it to the base for incubation.
- Place the lid on the Instant Pot and set the venting knob to the sealing position.
- Initiate the yogurt setting by pressing the “Yogurt” button and adjust it to “Normal” mode for 8 hours.
Incubating the yogurt
To incubate the yogurt in the Instant Pot, follow these steps:
- Set the Instant Pot to the yogurt function and adjust the setting to your desired temperature, typically between 110 and 115 degrees Fahrenheit.
- Carefully place the yogurt mixture into the Instant Pot and cover it with a lid to maintain a consistent temperature.
- Allow the yogurt to incubate for at least 4 – 8 hours, depending on your desired level of tartness and thickness.
- Avoid moving or shaking the Instant Pot during incubation as this can disrupt the process and lead to inconsistent results.
- After incubation, check the consistency and taste of the yogurt before refrigerating it for at least 6 hours to allow it to set.
Tips and Tricks for the Best Instant Pot Yogurt
– Utilize reduced fat or low fat milk to achieve a smoother texture and experiment with different incubation times to control thickness. Additionally, troubleshoot common issues such as watery yogurt by adjusting the milk temperature for optimal results.
Using reduced fat or low fat milk
To make yogurt in the Instant Pot with reduced fat or low fat milk, I ensure the milk is heated to 180-200 degrees Fahrenheit. Then, it’s cooled to 112-115 degrees Fahrenheit before adding the yogurt culture.
The Instant Pot maintains this temperature for several hours during incubation, resulting in creamy and smooth yogurt.
To achieve the best results with reduced fat or low-fat milk, maintaining the recommended temperatures at each stage of the process is crucial. Now let’s delve into making yogurt thicker and smoother.
Making yogurt thicker and smoother
To make yogurt thicker and smoother, I suggest using reduced fat or low-fat milk in the Instant Pot. This can help achieve a creamier texture because less fat can result in a thinner consistency.
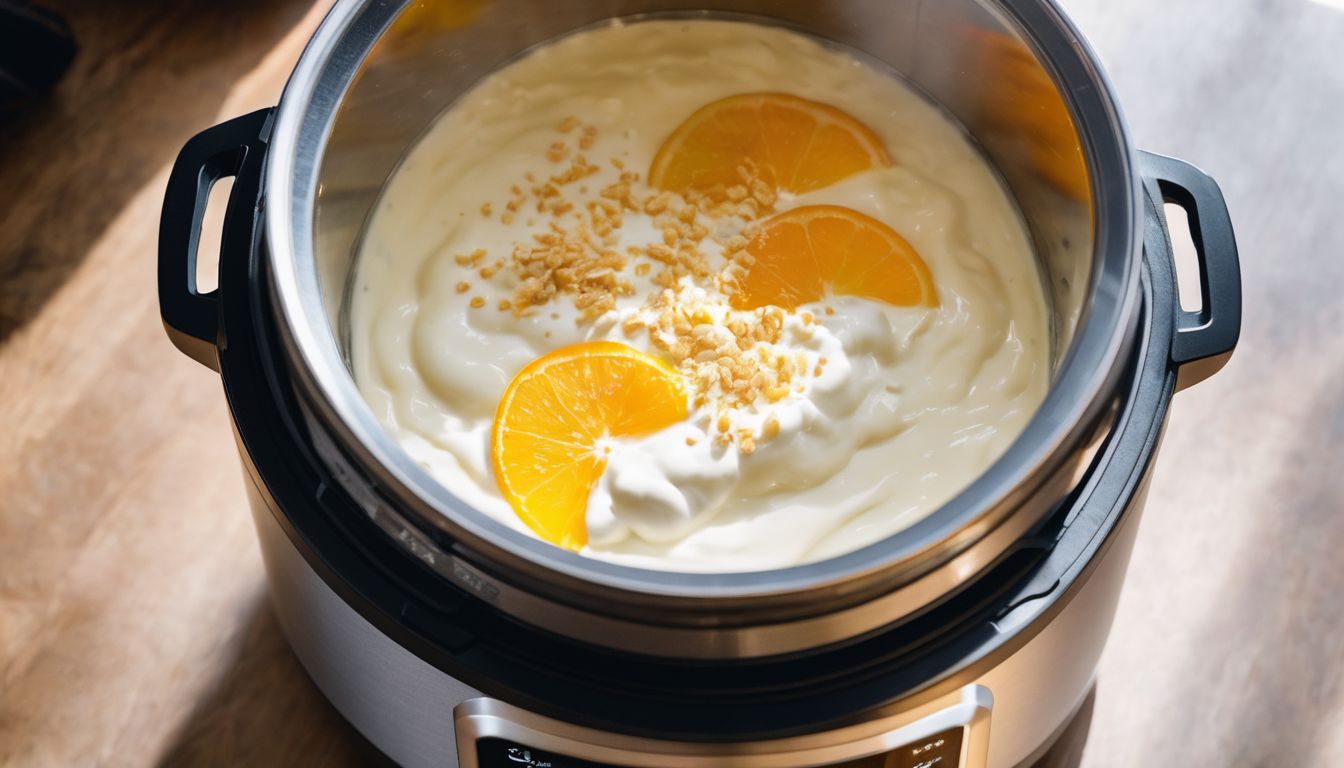
Another method to thicken yogurt is to strain it through cheesecloth after incubation, which helps remove excess whey and makes the yogurt denser without altering its flavor. Straining for around 6-8 hours can yield Greek-style yogurt that is rich and velvety.
For an even smoother consistency, consider adding some powdered milk to the mixture before heating it in the Instant Pot. The additional protein from powdered milk contributes to a silkier texture while maintaining a creamy taste.
Troubleshooting common issues
When encountering issues while making yogurt in the Instant Pot, it is essential to ensure that the milk has been heated and cooled to the correct temperatures as per the recommended guidelines.
Inconsistent temperature control may lead to unsuccessful yogurt cultures. Another common issue is using expired or ineffective yogurt starter, which can result in inconsistent or failed batches of yogurt.
Additionally, check that the Instant Pot sealing ring is clean and properly positioned to maintain a stable environment for culturing. Moreover, avoid disturbing the incubation process as this could disrupt the consistent temperature required for successful yogurt making.
If experiencing straggly or slimy texture in your yogurt, it might be due to over-incubation at high temperatures or prolonged agitation during fermentation. To rectify this, adjust incubation time and minimize disturbance during the culturing process.
Conclusion
In conclusion, the Instant Pot yogurt setting maintains a temperature between 110 and 115 degrees Fahrenheit for several hours during the incubation process. Practical and efficient, these strategies ensure consistent results in homemade yogurt making.
How will you apply these temperature control tips to perfect your next batch of creamy yogurt? By understanding its importance and impact, you can elevate your homemade yogurt game.
Explore the Instant Pot temperature chart for further guidance in achieving that ideal yogurt-making temperature. Let’s turn up the heat on our homemade yogurt with precision and confidence!
FAQs
1. What temperature does the yogurt setting on an Instant Pot keep?
The yogurt setting on an Instant Pot keeps the temperature maintained within 110-115°F, which is perfect for making yogurt.
2. Why is it important to control milk temperature when making yogurt in an Instant Pot?
Controlling the milk temperature for yogurt with the Instant Pot’s function ensures good bacteria can grow and turn the milk into thick and creamy yogurt.
3. Can I make homemade yogurt using my pressure cooker’s yogurt function?
Yes, you can use your pressure cooker’s built-in Yogurt Function to heat and maintain a specific temperature range crucial for culturing homemade yogurt.
4. How do I check if my milk has reached the right heating point for making Instant Pot Yogurt?
While making instant pot yogurt, use a food thermometer to check that your milk has heated to just before boiling, then cooled down properly before adding your culture.
5. Is using a pressure cooker like the Instant Pot different from traditional methods of making cultured yoghurt at home?
Using a pressure cooker like the Instant Pot simplifies maintaining temperature for cultured yoghurt, while traditional methods require more attention to keep temperatures stable during the culturing process.


Etekcity Food Scale, Digital Kitchen Scale, 304 Stainless Steel, Weight in Grams and Ounces for Baking, Cooking, and Meal Prep, LCD Display, Medium
$9.99


Air Fryer Paper Liners,125Pcs Parchment Paper, Air Fryer Disposable Paper Liner for Microwave, Non-Stick Air Fryer Liners Square Free of Bleach (8IN)


